Wednesday, September 12, 2012

TUTORIAL: Fall Table Runner with TREAT POCKETS


I have been looking around at all the cute Fall table runners in the stores lately and got INSPIRED! Don't you love all the FALL colors? Red, orange and gold just EXCITE me about the new season ahead!

Rather than spending a small fortune on a new table runner, I knew I could make one for just a few dollars so I headed to the fabric store. I found this modern take on fall with this red berry blossom print and a small red polk-a-dotted fabric for the end panels. There is a little surprise in this table runner for everyone at the table, so KEEP READING to find out what it is!


Table Runner Tutorial
(with TREAT POCKETS - and that doesn't need to mean candy!)

1. Measure your table to figure out how long you want your table runner to be. (I wanted mine to be 72 inches long.)

2. Figure out how wide you want your table runner to be. (I wanted mine to be 13 inches wide.)

So I want my table runner to be 72 inches long x 13 inches wide when finished.


Gather materials: 7/8 yards main fabric, 1/4 yard coordinating fabric for end panels, scissors, pins, straight edge/ruler, sewing machine, thread

3. CUT YOUR FABRIC:

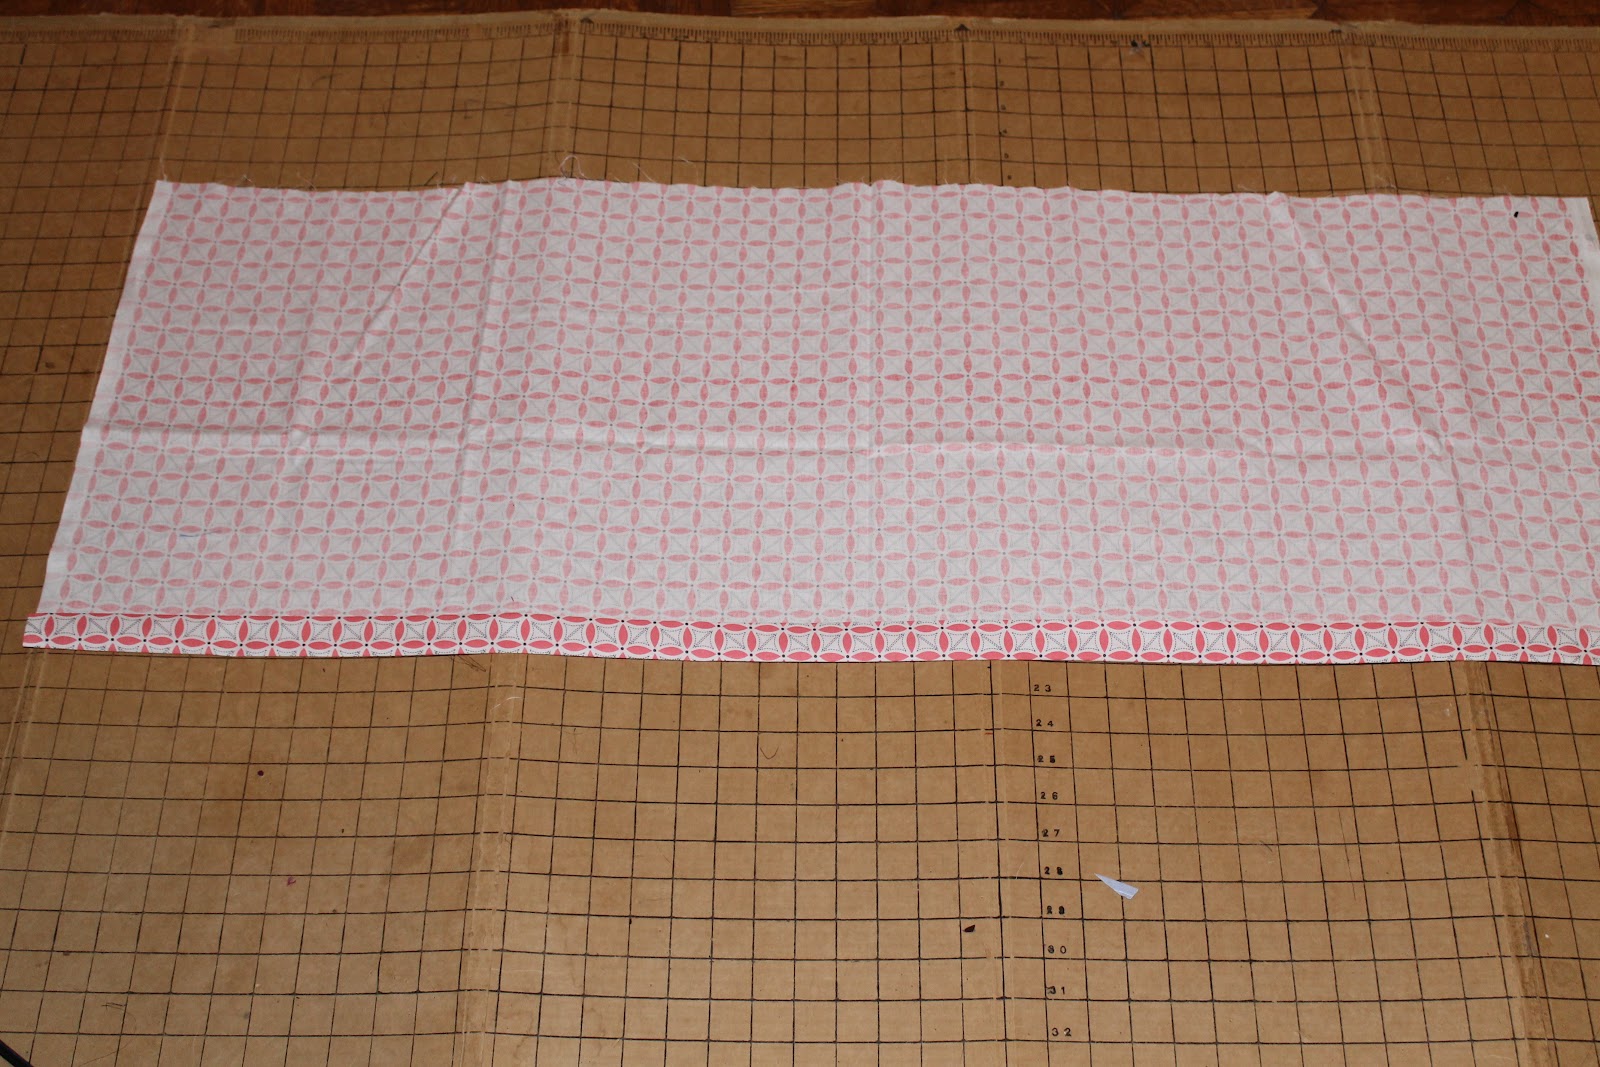
Cut two pieces of your main fabric to: 31 inches x 14 inches


Cut two panels to: 7.5 inches x 14 inches


*I have already included your hems and seam allowances.

TIME TO SEW!

5. Lay your two main fabric pieces right sides together and pin along one short end.


6. Sew along your pinned edge using a 1/2 inch seam allowance and remove the pins as you sew. Serge or zig-zag stitch your edges. Press seam to the side with an iron.


7. Lay your main fabric right side up. Lay one panel on the left end and one on the right end. Match up your raw edges and pin.


8. Sew down your pinned edges and remove the pins as you sew. Serge or zig-zag stitch your edges. Press seams to the side with an iron.


9. Iron and pin a 1 inch hem around all sides. Sew along your pinned edges. Remove pins as you sew.


10. TIME FOR THE TREAT POCKETS! I have two little kids that love surprises so I thought it would be fun to make four pockets on our table runner (one where each person sits).

Cut out FOUR pieces that are 5 inches x 6 inches.


11. Hem 3 sides of the pocket pieces with a 1 inch hem. Sew around all three sides.


12. Place your pockets right side up on your table runner. You will do this at the left and right end of your table runner and at the top and bottom of the middle of your table runner. Fold under the raw edge one inch and place that end 1/2 inch away from the edge of your table runner. Pin pocket into place.


13. Sew along three sides of the pocket to secure using a 1/8 inch seam allowance. Backstitch 3 times at the beginning and ending points. Leave the top open so your pocket will be able to hold a treat!

16. Lay it on your table and sneak in a treat! Next time your little ones head to the table get ready to hear their sweet giggles!!

Things you can put in the pockets: stickers, markers, crayons, stamps, ink pads, notebooks, stencils, silly Halloween socks or even an I LOVE YOU note! And for the morning after Halloween, how about a new toothbrush? :)


Happy Fall!!
Jenny

New PATTERNS coming soon in the pattern shop for FALL! Yay!!

Linking up here:

Monday, September 10, 2012

Cozy Hooded Cape Sewing Pattern for Girls

I don't know about you, but I am SO READY for FALL to be here! Yesterday morning when we woke up it was 65 degrees and I couldn't have been happier! The kids started riding their bikes and then we went to the park. You can't beat a day like that.


That got me thinking about making my Fall and Winter sewing pattern collection and completely inspired it! My next PDF sewing pattern is this Cozy Hooded Cape for Kids. It will come in sizes 3 months - 10 years so even those older girls can join in the fun. They want to be warm and stylish too, right!?!

This easy PDF sewing pattern just went to my pattern testers and should be ready and in the pattern shop by Saturday. If you haven't sewn a hood before, don't worry! I hadn't either until a few days ago and now I am looking at all my little girl's clothes and wondering what I can add a hood to next. It's THAT easy!!


These capes can be made in flannel, fleece or even corduroy and can be lined in those fabrics, too, or you can use something as simple as a cotton.
 
Get those scissors and pins ready for this one, ladies! It's a CUTE ONE!

Wednesday, September 5, 2012

Sewing TUTORIAL: Girl's Dance Bag


Sewing Tutorial:
Girl's Dance Bag
 
There comes in a moment in almost every little girl's life where she wants to dance. She wants to put on her poofy pink tutu, those tiny ballet slippers and a leotard and TWIRL!
 
Well today is my little girl's first day as she calls it, "her very special dance class" and I needed to send her there in style. If your little dancer needs to carry her ballet shoes, tap shoes, tutu and leotard off to dance class she will definitely need a dance bag to do it. There are tons of them at the dance store of course, but it's more fun to make and it's THE MOST FUN when you make it with your special dancer!
 
1. Gather Materials:
half yard of cotton fabric, two yards of grosgrain ribbon, scissors, pins, sewing machine, thread, ruler and iron


2. Cut a piece of fabric that is 18 inches long x 44 inches wide
 
3. Hem one long edge 2 inches. Fold up a one inch hem, press with an iron, fold up another one inch hem, press with an iron and pin along this edge.  (This is the 44 inch edge)
 
4. Sew along your pinned edge. Remove pins as you sew. This will be your ribbon (drawstring) casing in a few steps.

 
5. Lay your fabric right sides together, matching up the short sides (the 18 inch long sides). Pin down this short side.
 
6. Put two pins at the bottom of your previously sewn hemmed edge. This will remind you to STOP SEWING whne you reach this point. You do NOT want to sew over this casing. It would close it.


7. Starting from the bottom of the short side that you just pinned, sew along the edge towards the top casing, but STOP when you reach the casing. Backstitch several times to reinforce this stopping point.
 
8. Turn right side out and press with an iron.
 
 
9. See the part of the casing that you did NOT SEW? There is an opening there and this is what you want. You did it correctly! This is where you will insert your ribbon to make it a drawstring.
 
 
10. Cut a piece of grosgrain ribbon that is 48 inches long. Insert a safety pin onto the end of it.


11. Insert your safety pin through one of these openings and feed your ribbon through until it comes out the other open end. You will start to gather your fabric over the ribbon as you do this.


 12. Tie each ribbon's end into a knot so it will not slip out the casing. Use Fray check on the ends to prevent unraveling OR fold over the end of the ribbon 1/2 and inch then another 1/2 an inch and sew to hem. Repeat for the other ribbon's end.


13. Tie your ribbons into a bow.

14. To make a handle cut a piece of ribbon 18 inches long and fold it in half.


15. Fold the joined raw edges over 1/2 an inch then another 1/2 an inch to enclose the raw ends. Pin the loop below the casing and sew down this short end to create a handle for the bag.


Toss in a tutu and some ballet shoes and let your little girl dance her heart out!
 

These tiny toes will forever melt my heart - with or without ballet shoes on them.

 
 Happy Sewing!
I hope you and your little tiny dancer will have fun making one of these dancing bags together!

Tuesday, September 4, 2012

Sewing Pattern - Women's Dress - take 3

I've really been having fun designing this sewing pattern for women!!! This dress looks simple, but has some details that make it special. First this dress has hidden inseam pockets. I don't know about you but I really love when dresses include pockets. Just for those quick errands or a trip to the park - it's a great place for keys and a cell phone - rather than throwing them on the ground next to the park swings.


The neckline features two of my favorite details - the scoopneck and the pleated front. Scoopnecks are flattering when they aren't too low cut. With this dress you don't have to worry about having a v-necked dress that possibly falls too low. When that happens to me I'm not going to pass up the dress in the store, but it will make me think about what will go under it - a bandeau top or tank top - or if I will have to alter the dress to pull it up at the shoulders. So when it came to making this dress, it features the classic scoopneck. It is modest but not too uptight and gives this dress a fresh, young and modernly chic look.


To give the dress' neckline a little pizzazz, rather than having your basic scooped neck, I went with a pleated detail. This draws your eyes towards the gathered pleats at the neckline while giving the bust some shape. The waist is accentuated since it is cinched with a sash or belt.

To me, this is an updated classic look and I cannot wait for YOU TO SEW ONE!! This dress sewing pattern will be one that you will LOVE TO SEW and LOVE to have in YOUR CLOSET!

I'm hoping to have this finished by the weekend and then I will call out for pattern testers. Be on the lookout on Facebook.

And if you haven't entered our NAME THIS SEWING PATTERN CONTEST, check it out here and get your name in TODAY! 

Happy Sewing!
Jenny