
Callie Wrap Dress sewing pattern Sew Along Day
Day 5 - Hemming the armholes OR adding armbands, hemming the skirt, finishing your dress!
I am so excited about our Callie Wrap Dress sewing pattern SEW ALONG! Thank you so much to our fabulous sponsor, Evelyn Lee, of Seweird Fabrics!! She has so graciously sponsored the sew along and is giving away one $25 store credit to her shop! $25 of fabric!! Yes, please!! Go ahead and check out her fabrics to plan out all the beauties you would get if you win!!Each day we will do a few steps and by Friday you will have a finished dress to wear out next weekend! Can you believe it? Yes!! It's that simple! Instead of worrying about finding all the time to print, cut fabric, sew, hem...we are going to split up all that work so you can do this in just 20 minutes a day!
Here's the plan:
Wednesday: Sew shoulders, band or hem neckline, attach sleeves if adding them, sew side seams (Blog HERE / Video HERE)
Friday: hem sleeves and circle skirt and you're done!! (Video HERE)


Day 5
1. Hem the armholes by folding under a 1/2 inch hem. Sew with a 3/8 inch seam allowance.
OR
Cut sleeve bands to attach to your sleeves. Measure each armhole, multiply by .8 then add 1/2 inch. That is the measurement you need. Cut TWO strips 2 inches tall by that width.
Fold each strip right sides together and sew along the short 2 inch side. Now it is a loop.
Fold each in half with wrong sides together, making each a 1 inch tall loop.
Pin the raw edges of the armhole band to the dress' armhole. Sew. Flip and press with an iron.
2. Hem the circle skirt by folding up 1/2 an inch, then sew using a 3/8 inch seam allowance.
3. Pres well.
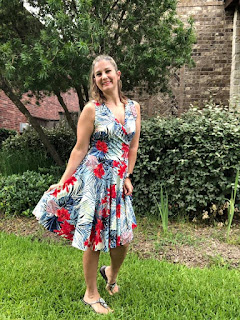
You're done!!
Try it on and come share a picture in our facebook group!! We have 2 giveaways going on!! Come check it out and enter to win!


