Pages

Thursday, June 30, 2011

Tutorial: Romper to Dress

TUTORIAL: Turn an old romper (or onesie or t-shirt) into a DRESS

Since it's super hot down here in South Louisiana it's the most perfect time to pull out those summer dresses. My daughter, Catherine, seems to be outgrowing her clothes faster than I can sew them, so I decided she needed a "new" dress. I found an old green romper that she had outgrown and decided to make use of it once again.

Materials: old romper (onesie or t-shirt) , 3/8 inch elastic (cut 5 inches shorter than your child's waist), material for dress skirt (I used 3/8 of a yard)


1. Cut off the romper at 8 inches (to give it an empire waist) and save the remaining material for craft projects (and a ruffle embellishment for the dress).

 2. Lay out your fabric. I cut a piece that was 2 times her waist measurement and 12 inches long. So it was 40 inches wide by 12 inches long.
 3. Fold up your bottom hem an inch, press with an iron and fold up another inch. Press with an iron and pin.

 4. Sew along this hem and remove pins as you sew.
 5. Lay out your dress piece with the hem facing down along the bottom. The unhemmed part will be facing the top. Lay your piece of 3/8 inch elastic across the top. Pin the ends of the elastic to the ends of the fabric and pin the middle of the elastic to the middle of the fabric. (It will bunch up and that's okay.)
 6. Here is the pinned elastic.
 7. Using a straight stitch sew along the elastic pulling it gently as you sew.
 8. Lay the fabric wrong side down. Take one short end and make it meet the other end. Pin in place.
 9. Sew these ends with a straight stitch. Zig-zag stitch when done to keep the ends from fraying.
 10. Lay your skirt fabric inside out. Shove the dress top inside of it. Line up the end of the romper with the end of the skirt fabric. Pin all around.
 11. Sew all around the pinned fabric. Flip the dress right side up. Now you have your dress!
 12. Make a rosette or just gather your scraps to embellish. Pin in place and sew down.
 13. Admire the dress you just made!
 Catherine started saying, "It's pretty. Mommy made it."
And my heart just melted obviously!
 I couldn't get a smile, but at least she stood still.
I will sew for this sweet baby girl any day!

Have fun! Send me a picture if you make one!

Saturday, June 25, 2011

TUTORIAL: Men's dress shirt to MY NEW DRESS

Tutorial

A few days ago I posted an upcycling project I did using one of my husband's old dress shirts that I turned into a dress for myself.  Click here to see that post.
So many of you wanted a tutorial that I put one together for you!
When I was making the original dress I started taking these pictures. Then I almost gave up sewing it because I thought I messed up, so I stopped taking the pictures. I'm kicking myself now, because I should know that even though a project may not come out as planned or imagined,
sometimes it comes out better than expected.
TUTORIAL:
materials needed:
largest men's dress shirt you can find (I used a L), a dress that fits you (for size), 3/8 inch elastic (one piece cut to 5 inches smaller than your bust size), thread, notions, sewing machine
1. Find a dress shirt in a color that you like. Find the largest size you can so you have plenty of material work with while you sew. My husband's shirt is a L. Lay a straight edge at the base of the collar and draw a line from left to right side.
2. Line shown here.
3. Lay the dress that fits you in the middle of the dress shirt, lining up the collars. Notice how I am keeping the curve along the bottom as my new dress' hem. Trace along the sides of the dress to get the dress shape you desire. I left about an inch on either side when I traced it.

4. Cut along the lines you drew to make the shape of your dress.
5. Cut along the line by the collar. (I also cut off another inch once I put it on because the pocket fell in a funny place.)

6. This is where I stopped taking pictures. Place your two dress pieces right sides together. Pin along the side seams. Make sure the bottom hems line up.

7. Starting at the bottom of each side, sew up each side seam (the pinned edges) taking out the pins as you sew. Sew both sides.

8. Press your seams open with an iron. Zig-zag stitch or serge them if desired.

9. Fold and irondown one inch along the top (this will start making your elastic casing).

10. Fold and iron down another inch. Pin in place.

11. Sew 1/2 inch seam allowance from the top of the dress. We are making a casing that will "ruffle" along the top of the dress. Sew it all the way around.

12. Sew using a 1/8 inch seam allowance along the pinned/folded edge. This will start to make a casing/tunnel for the elastic. STOP SEWING 3-4 inches before your starting point. Backstitch.

13. Cut a piece of 3/8 inch elastic that is 5 inches shorter than your bust measurement (to keep the dress up).
14. Insert your piece of 3/8 inch elastic into the casing. Sew the ends of the elastic together.

15. Sew along the unfished part of your elastic casing.

16. Try it on!
Wear it with a sash made from the sleeves of the dress shirt or a belt to give it some form.


I thought the belt added some shape to it and made it a bit more trendy.


There are loads of dress shirts to be thrifted or just grab one from your friend, boyfriend, husband, dad, cousin....you get the idea. They are everywhere and even come in great colors, patterns and fabrics - some even perfect for summertime.
Have fun sewing! Share your link if you make one!

Tuesday, June 21, 2011

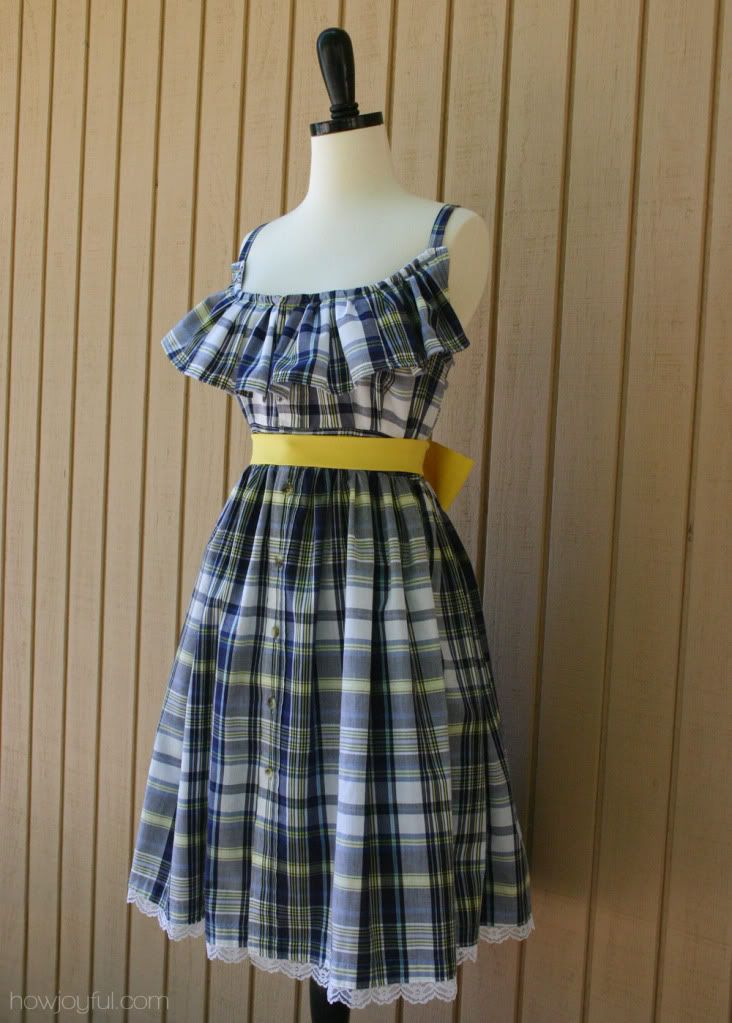
Upcycled: My NEW DRESS from MEN'S DRESS SHIRT

Maybe I'm behind the times for this post. It seems everyone out there has turned a men's dress shirt into something. Whether they turned it into a toddler dress, a halter top or a dress for themselves, other people have done this and inspired me to try. My husband, Patrick, was in his closet the other day complaining about a stain on a collar of his dress shirt. He threw it on the floor and said, "It's ruined. I can't wear this anymore. Look at this collar. Let's donate it."
LIGHTBULB! Sewing opportunity!!
I asked if I could use it for fabric and he said sure and gave me 4 more old shirts! SIGH. I love him.
So I scoured the internet for some inspiration and came up with my own dress. It's simple, straight and with a belt I thought it was cute. So I wore it all day for Father's Day. My husband thought it was sexy. I'll go with it. :)
If you make one I recommend ironing your seams once they're sewn. I'm not a huge fan of ironing but the more I do it, the happier I am with the results.


Some awesome men's dress shirt to women's dress TUTORIALS:


What have you upcycled lately?
Share it in the comments section as a link. I'd love to see it!

Linking up here:Sugar Bee Crafts, Ladybug Blessings

Monday, June 20, 2011

Featured on This Crazy Blessed Life and GIVEAWAY

A few weeks ago I got the sweetest email from Sarah over at
 This Crazy Blessed Life. She couldn't wait to sew one of my sewing patterns and was super sweet enough to feature it today.
Here is the Laurie Claire Tunic she made
using this pattern from my shop.


I love how Sarah sews with bright colors and creates things that would be found in boutique shops, not only for herself, but also for her house and her kids.


Want to see some of her projects?


Wouldn't this look great on your couch? GUESS WHAT? She made the tutorial for it. You can find it here. 


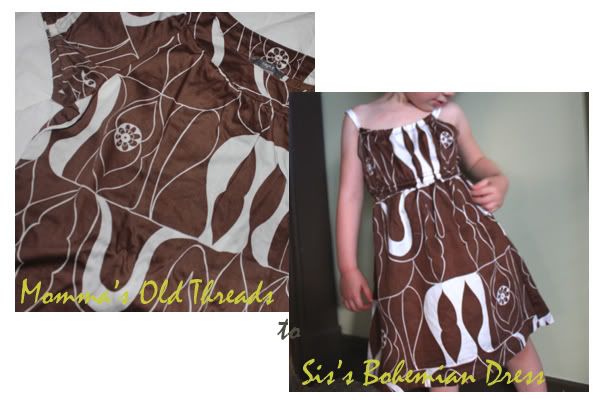
Or maybe you're interested in upcycling a dress for your little girl? Try out this upcycled bohemian dress (which if it came in my size I'd totally wear). The tutorial is found here.

Sarah is having a giveaway of my patterns! One lucky reader will WIN ONE FREE SEWING PATTERN!


What are you waiting for? Click here and leave Sarah a comment to enter! You can't win unless you try!

Saturday, June 18, 2011

Featured on Naptime Crafters - BOGOFREE coupon!

My sewing patterns are being featured today
over on Naptime Crafters. Check out Amy's blog!
 Blast off, Take off, Fly Away!
Check out what Amy has to say.
Naptime Crafters has so much to see,
and you can get a
FREE PATTERN from me!
(Buy one get one free sewing pattern code...don't miss it!)


Have you ever made any fun cardboard crafts? Send me your links in the comment section. I'd love to check them out! I'm always looking for ways to entertain a 3 year old and 20 month old.

This was made from a diaper box last year and it only lasted a few weeks, but it turned our playroom into a busy airport while we had it.

I love seeing my kids play make believe!
I also made them a kitchen which was a super cheap
 summer project:Cardboard Play Kitchen

Another fun tutorial I did this week was the Reversible Beach Hat 
Check it out! Keep those baby soft sweet cheeks covered
from the sun!

Friday, June 17, 2011

Tutorial: Boy's Summer Tote Bag

Boy's Tote Bag
TUTORIAL
Do you always find yourself sewing for your little girl? I would say do you always find yourself sewing for yourself, but I haven't found many people who sew exclusively for themselves. If you do, send me your blog. I need some inspiration in that category of my life!

Well my little boy, John Patrick, is 3 and is starting to notice that I'm making things for his younger sister, Catherine. A little mom guilt set in and I started brainstorming. I thought of making things like: an appliqued shirt, pair of shorts, a cape...but the only thing I really got excited about was a bag.
(I also made him a pirate eye patch...tutorial coming next week for all those who love Captain Hook and Jake and the Neverland Pirates.)

We've been going to the library each week and he likes carrying his books by himself, so I thought this would be useful. And of course when you come across a boy fabric that isn't babyish and suddenly have an idea for it, you have to get to work sewing!

 1. Cut two pieces of fabric, each 18in x 18in. Cut two pieces of fabric, each 2 in x 18in for your straps.
 2. Hem the top of each of your tote bag pieces. I folded it up an inch, then another inch. Pin.
 3. Sew along the hem on both large fabric pieces.

 4. Lay your large fabric pieces right sides together, with the hem you just created along the top. This will now be your top hem. Pin on all 3 sides of your tote bag (the left side, bottom and right side). Leave the top hemmed part open. You will not sew this part.
 5. Sew along all 3 pinned sides. Remove the pins as you sew. (Or pins fly and needles break. Ouch!)
 6. Let's create some corners. If your bag doesn't have corners it's not a big deal, but it will just look like a pillowcase and won't have any shape to it. It will still hold things though and it is the faster way. So if you want to skip down to making the straps feel free to do it!
If you want corners continue here: Keeping your tote bag inside out create a triangle at the bottom sewn edge (make the side seams of the tote bag meet). The side seam will cut this "triangle" in half. See above.
 7. Pin this triangular shape.
 8. Draw a line 3 inches below the tip of the triangle. See above.
 9. Sew along this drawn line. Repeat for the other bottom/tote bag side. Make a triangular shape, pin and draw your line. Sew along this drawn line.
 10. Turn your bag inside out. See how it has some shape! It will give your bag some depth and will lay flatter when it is full.

 11. Lay each strap piece right side up.
 12. Fold each strap piece in half. Iron and pin. Now you will have the same length strap, but narrower. Sew as close to you can along this pinned edge.
 13. Attach a safety pin to one outer edge. Insert the safety pin into your fabric, slide it through and use your hands to turn it inside out.
 14. Keep pulling.
 15. Press with an iron.
 16. Pin on your 2 straps. Sew them on. Trim your threads.
 17. You did it! A tote bag for your little boy (but of course it can be for a girl, too, just change the fabric!)
Surprise your boy with a tote bag after his nap!
One smiling boy will make one happy mama!